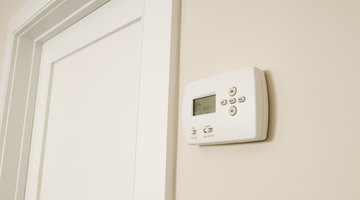
How to Wire a Hunter Thermostat
Wiring a Hunter thermostat requires accuracy; otherwise, you could damage components of the thermostat and your HVAC unit. Some thermostat wiring follows a color-coded system, so it’s easy to connect your wiring.

The red wire connects to the red terminal, the green wire connects to the green terminal and the white wire connects to the white terminal. However, just in case your house doesn’t have updated color-coded wiring, you should learn how to wire a Hunter thermostat to ensure you connect your new thermostat properly.
Things You Will Need
- Masking tape
- Pen
-
Examine the back of your old thermostat with the wires still attached.
-
Label each wire according to the terminal it plugs into. Wrapping a piece of masking tape around the wire works best, because it’s easy to write on and remove after you finish your Hunter thermostat wiring project. Wires on your old thermostat will plug into one of five terminals labeled “RH, R, VR or 4,” “RC or VC,” “G or F,” “Y, C or M” and “W or H.”
-
Disconnect the wires from the old thermostat by unscrewing the screws on the wire terminals. Pull the wires out gently.
-
Match the wires you labeled previously with the appropriate wiring terminal on your new thermostat. Insert the wire into the appropriate terminal and tighten the screw.
-
Ignore wires that may be in your wall but didn’t connect to your old thermostat. You don’t need them anymore.
The Drip Cap
- Wiring a Hunter thermostat requires accuracy; otherwise, you could damage components of the thermostat and your HVAC unit.
- Wrapping a piece of masking tape around the wire works best, because it’s easy to write on and remove after you finish your Hunter thermostat wiring project.
- Pull the wires out gently.
Writer Bio
Kristan Hart is an award-winning journalist in Springfield, Mo., who provides SEO web copy as a freelance writer/editor. She has a decade of experience and holds a bachelor's degree in mass communications with an emphasis in broadcasting.
More Articles


