


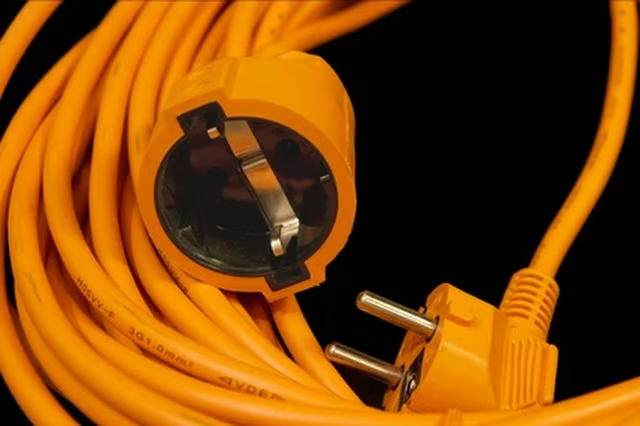
Using extension cords on power tools can cause accidental cutting of the cord on the tool or the extension cord with a saw blade. Electrical tape insulates single wires from touching each other when repairing cords.
Things You Will Need
-
Unplug the electrical cord for the appliance or tool from the power outlet.
-
Cut through the electrical cord with wire cutters 2 inches to the right of the damaged area of the cord. Cut the cord 2 inches to the left of the cord area for repairs.
-
Trim back the coating on the electrical cord with a utility knife about 3 inches from each of the two cut ends of the cord.
-
Grasp one colored wire inside one end of the cord. Pull it firmly out of the exterior coating to expose 2 inches of the length.
-
Place wire strippers on the exposed length and squeeze them to remove the 2 inches of colored coating. Repeat this procedure for each wire in each of the two electrical cord pieces. Appliance electrical cords generally have two to three wires inside, while extension cords with a ground have three wires inside.
-
Place each of the two ends with stripped wires next to each other on a flat surface. Pick up the black wire from each end and twist the copper wires tightly together in a clockwise direction.
-
Place a wire nut on the junction of the two black wires. Press firmly and turn it to the right to secure the junction.
-
Wrap electrical tape around the bottom of the wire nut onto the wires to hold the nut in place.
-
Repeat twisting wires of the same color together, putting a wire nut on each junction and taping each nut securely. In three-wire cords, the most common additional wire colors are green and white.
-
Wrap electrical tape around all junctions of the wires to secure them together. Start the tape from three inches to the left and extend it three inches past the right of the cut area while overlapping each electrical tape wrap to secure all wires inside. This will keep the wires from protruding out farther than the cord and catching on items to pull the connections apart.
The Drip Cap
- Electrical cords on tools and appliances may need occasional repair from accidents that cut, break or rip them.
- Using extension cords on power tools can cause accidental cutting of the cord on the tool or the extension cord with a saw blade.
- Place wire strippers on the exposed length and squeeze them to remove the 2 inches of colored coating.
- Place each of the two ends with stripped wires next to each other on a flat surface.
- Pick up the black wire from each end and twist the copper wires tightly together in a clockwise direction.