


Things You Will Need
For example, older homes may have more plug-in receptacles on single circuits due to add-ons through the years while some homes still utilize fuse boxes for electrical distribution rather than circuit breakers. Homeowners with basic electrical knowledge of circuits and associated components can identify a bad circuit with a few tools.
-
Check all switches connected to the questionable circuit to make sure that they have been powered on.
-
Look for burned out light bulbs in ceiling fixtures. Use an approved step ladder of an appropriate height if necessary to reach the fixture. Check table lamp bulbs.
-
Check the reset button on an installed ground fault circuit interrupter (GFIC) receptacle in the event it has been tripped.
-
Check the main electrical panel for a tripped circuit breaker. If the house uses a fuse panel, check for a blown fuse. If a breaker has tripped or a fuse has blown, identify all items on the circuit and disconnect them before resetting breaker or replacing fuse.
-
Insert a plug-in outlet tester into a suspect receptacle for evidence of an open ground or open neutral wire. If either is indicated, turn off electrical power to the receptacle.
-
Remove receptacle cover screw with a screwdriver and lift cover off.
-
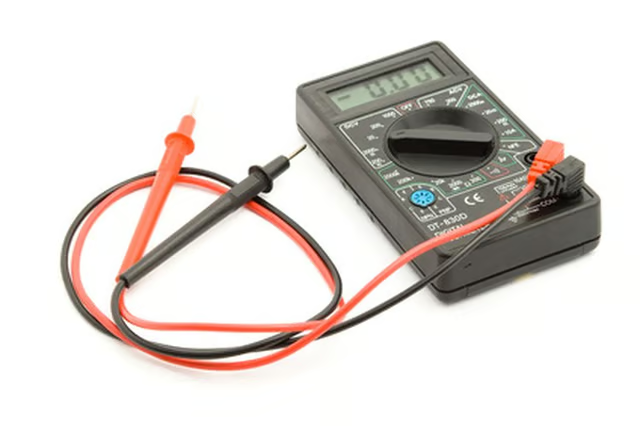
Test receptacle to ensure power is off using a multi-meter. Set the meter to read AC voltage. Touch one test probe to the brass terminal and the other probe to the silver terminal.
-
Remove receptacle bracket screws and pull the outlet as far out from the box as the wiring will allow.
-
Inspect the outlet for loose or broken wiring. A loose or burned connection that has become removed from its terminal or the insertion point on the back of a duplex receptacle is an obvious problem.
-
Check suspect switches by first turning off electrical power to the switch circuit.
-
Remove the switch cover screw with a screwdriver and pull the cover off.
-
Set the multi-meter dial to 200 ohms or more. Touch the test probes to each of the switch terminals and check the meter for a reading of continuity.
-
Place the switch in the "Off" position. No reading should appear until the switch is moved to the "On" position. If the switch does not operate in this manner, replace the switch.