How to Replace the Fuse in a Craftsman Multimeter

How to Replace the Fuse in a Craftsman Multimeter
Written By
David Young
David Young
Published: Sep 4, 2011
Updated: Nov 20, 2021
1 minute read

Step 1

Turn the control knob on the front of the Craftsman multimeter to the “Off” position. Unplug the test leads from the front of the multimeter.

Step 2

Remove any holder, cover or protective case from the body of the multimeter.

Step 3

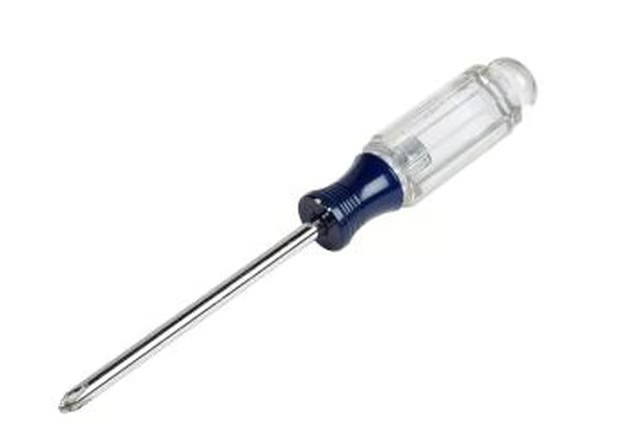
Unscrew the Phillips screw holding the fuse cover to the back of the Craftsman multimeter. Open the fuse cover.

Step 4

Pull the fuse out of the clips holding it to the circuit board inside the meter. Snap both ends of the replacement fuse into the clips.

Step 5

Put the fuse cover on the back of the multimeter and tighten the Phillips screw until it is snug.

Photo Credits

NA/PhotoObjects.net/Getty Images

David Young

David Young has written for the website for the Save Darfur Coalition and is currently writing articles for various other websites. Young holds a Bachelor of Arts in philosophy from Western Carolina University.

Sponsored
HomeSteady Logo

HomeSteady is the ultimate guide for all your household needs, from cleaning and HVAC to electrical, DIY and maintenance.

Property of TechnologyAdvice. © 2026 TechnologyAdvice. All Rights Reserved

Advertiser Disclosure: Some of the products that appear on this site are from companies from which TechnologyAdvice receives compensation. This compensation may impact how and where products appear on this site including, for example, the order in which they appear. TechnologyAdvice does not include all companies or all types of products available in the marketplace.