
Step 1
Clean the case of your unit periodically using a damp cloth. Clean the input terminals by turning your meter off and removing the test leads. Shake out any dirt in the terminals, soak a clean swab in alcohol and wipe the swab around inside each terminal.
Step 2
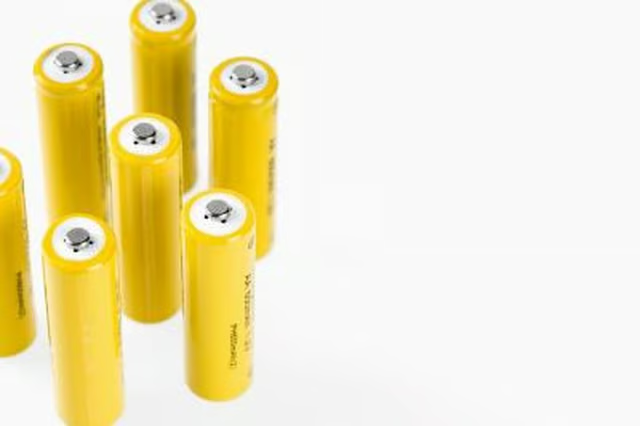
Replace the batteries if it is not possible to use the Ohm “ADJ” control to make the meter go to “0”. Remove the screw located on the back of the case to access the batteries. Remove the old batteries and replace them with new batteries of the same type. Replace the 9 Volt battery if it needs replacement.
Step 3
Replace the fuse by removing the screw in the back of the case to access the fuse. Replace the worn fuse with one that has the same internal resistance and current rating. Close the back of the case and replace the screw.