
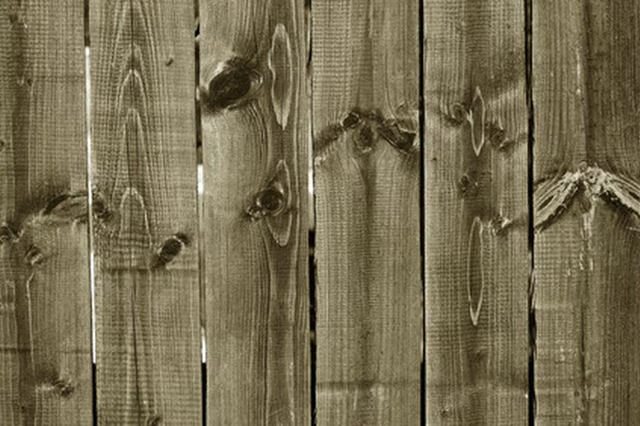
The siding panels are not protected by anything except paint, so it is important that you have a good waterproof paint coat over them. It is not recommended to use T-111 siding on your home because of the weather-related problems and the hassle it would be to maintain the integrity of the home.
Things You Will Need
-
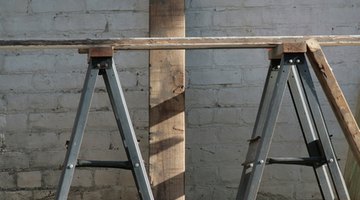
Place your T-111 siding on the saw horses for easy handling and cutting.
-
Remove all excess wood nails and debris from your studs where you will be installing T-111 siding.
-
Hook your tape measure to an outside corner edge of your framing.
-
Measure to the stud that is closest to 48 inches from the edge of your framing, taking your measurement to the center of that stud.
-
Transfer your measurement to a sheet of T-111 siding by making an arrow mark at the top and bottom of the sheet, using your pencil.
-
Snap a chalk line from one arrow mark to the other, using your chalk box.
-
Cut the excess T-111, using your skill saw.
-
Snap a chalk line at the bottom of the wall where the T-111 will be installed.
-
Nail an 8-penny nail 50 percent every three feet along the chalk line you just created.
-
Insert your tube of liquid nails into your caulking gun cradle and click the release button for the plunger.
-
Cut 1/4 inch off of the tip of the liquid nail tube at a 25-degree angle.
-
Apply a generous amount of liquid nails to the studs where the T-111 will be attached.
-
Place the T-111 sheet on top of the 8-penny nails.
-
Screw 2-inch galvanized coarse wood screws every eight inches into each stud through the T-111, using your screw gun.
-
Repeat the process to install further sheets of T-111 siding.
The Drip Cap
- T-111 siding is a type of plywood siding that was once one of the most commonly used types of siding on homes, sheds and garages, as it is very inexpensive and fairly easy to install.
- Remove all excess wood nails and debris from your studs where you will be installing T-111 siding.
- Apply a generous amount of liquid nails to the studs where the T-111 will be attached.