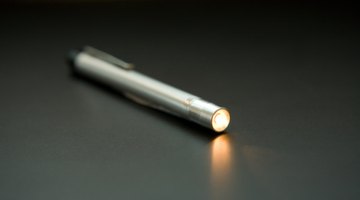
How to Fix an LED Flashlight
LED flashlights tend to last longer and burn brighter than traditional incandescent flashlights. The tradeoff, however, is that an LED flashlight can prove more difficult to fix.

Things You Will Need
- New batteries
- Pencil eraser
- Small screwdriver or pliers
People used to old-fashioned flashlights in particular might have trouble diagnosing issues with an LED flashlight because the same root problems manifest themselves differently. Fixing basic LED flashlight issues can be done through these simple steps.
-
Replace the batteries. While this is an obvious step with traditional flashlights, which dim as the batteries fade, you might not think to do so with an LED flashlight. The light in an LED flashlight never fades. It keeps burning until it disappears.
-
Clean the contact plate. Remove the batteries and look for the small metal circle(s) where the battery or batteries touch the flashlight. Running a pencil eraser over the contact plate will remove rust and grime and lead to a clean power connection.
-
Pry out the tail cap contacts and contact screw. These are the springs on the other end of the battery from the contact plate. Sometimes the spring can get jammed or the small metal contacts on each side of the spring can get snagged. Wiggling a small screwdriver between the springs and metal contacts will free them up and restore enough pressure to draw battery power.
-
Take the LED flashlight into a hardware store if you need a new bulb. Unlike incandescent flashlights, LED flashlight bulbs can only be replaced by professionals.
References
Writer Bio
Based in New York City, Ray Padgett has been writing about music and technology since his 2009 graduation from Dartmouth College. He has a degree in religion, with a minor in English. He has been published in SPIN.com and in "The Celebrity Café," "The Noise" and an upcoming Bob Dylan anthology.
Photo Credits
- Jupiterimages/Photos.com/Getty Images
- Jupiterimages/Photos.com/Getty Images
More Articles


