


Things You Will Need
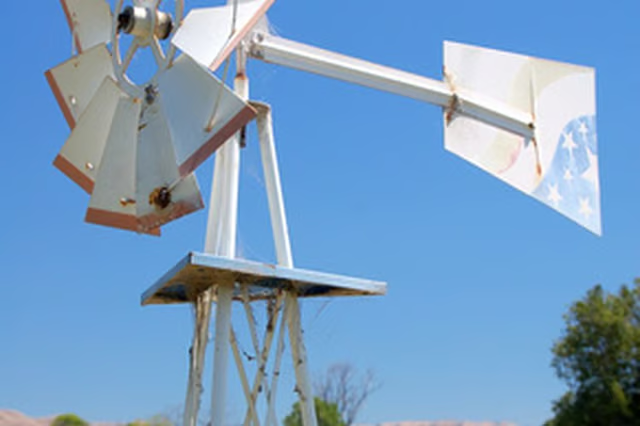
These are fairly easy to build from a few pieces of wood and some hardware, and you can decorate the windmill with as much or as little personality as you wish.
-
Cut out eight sails from a plywood plank. Make the sails about 12 inches long by 2 inches wide. You should have enough leftover for two spare sails in case a couple of them break for easy replacement. Sand the edges of the wood to make the sails smooth.
-
Divide the circumference of the circle into eight even sections. Draw lines across the middle of the circle to first divide it in half, then quarters, then eighths. This will also clearly mark the exact center of the circle.
-
Draw 45-degree angle marks on the rim of the circle at each of the eight lines you marked. Cut these lines about an inch deep. Cut and file these marks so they are wide enough to accomodate the sails.
-
Glue the eight sails into the round disc. Slide them in so they are in centered in the slits. Leave the glue to dry overnight before use.
-
Drill a hole through the exact center (as marked by the lines) of the windmill disk. Use a drill bit wider than your nails.
-
Thread a washer, the windmill and another washer on a nail, and nail the entire unit onto the center of the 1-inch dowel. This becomes the boom for the windmill.
-
Make a tail out of the other piece of plywood. Cut a "home plate" shape in the wood. Nail that to the other end of the boom with 1-inch nails.
-
Find the center of balance for the windmill and boom arm. Hold the device on your finger, and slide the device until it balances on your finger. Mark the point where it is in balance on the boom.
-
Insert the post into the ground.
-
Position the boom with the center of balance mark over the post. Drill through the mark.
-
Place a washer between the post and boom. Nail the windmill to the top of the post. Leave the windmill to catch the breeze, the windmill will start spinning. When the wind changes direction, the tail will move the windmill to follow.