


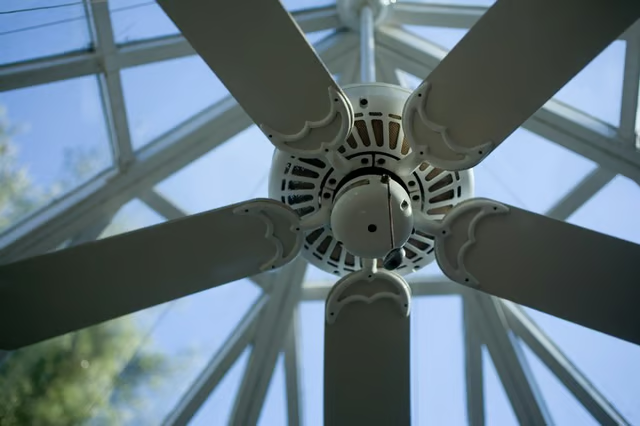
They can also serve as mounting sites for ceiling fans, which will make you patio even more comfortable on warm days. However, to install a fan on an Alumawood patio you'll need to order a special fan beam at the time of installation and hire an electrician to wire the patio cover before installing the fan yourself.
Things You Will Need
Site Preparation
-
Order your Alumawood patio with a fan beam. A fan beam is a structural element that spans the ceiling near the center of the cover and provides a mounting point for the fan. As with the rest of the Alumawood patio, the fan beam must be installed by an expert.
-
Commission an electrician to run wiring to the fan beam in your Alumawood patio. The wiring must be insulated and rated for outdoor use because it will be subject to temperatures and moisture that can damage other types of wiring.
-
Measure the space around the fan beam by climbing a ladder and checking dimensions with a tape measure. Buy a ceiling fan that comes with a mounting kit and features blades that have a total span that will fit within the space you measured.
Fan Installation
-
Locate the mounting plate in your fan's installation kit. Screw it into the fan beam on your Alumawood patio using the supplied screws.
-
Prepare the fan's wiring according to the fan manufacturer's installation instructions. Feed the wires out through the motor housing.
-
Attach one side of the fan's base to the mounting place by hooking one of its notches over a tab on the mounting plate. Connect like-colored wires in the fan base to those left by your electrician. Twist the wires together and strip off insulation as needed to make all of the connections. Apply plastic caps to all exposed wiring connections.
-
Hook the fan base's remaining catches onto the mounting plate tabs. Screw the fan blades into place one at a time using the supplied screws. Turn on the power to your patio and test the fan's operation using a remote control or installed switch.
The Drip Cap
- Alumawood patios have posts and covers made from a substance that features aluminum construction and wood grain patterns.
- They can also serve as mounting sites for ceiling fans, which will make you patio even more comfortable on warm days.
- Attach one side of the fan's base to the mounting place by hooking one of its notches over a tab on the mounting plate.
- Connect like-colored wires in the fan base to those left by your electrician.
- Screw the fan blades into place one at a time using the supplied screws.