


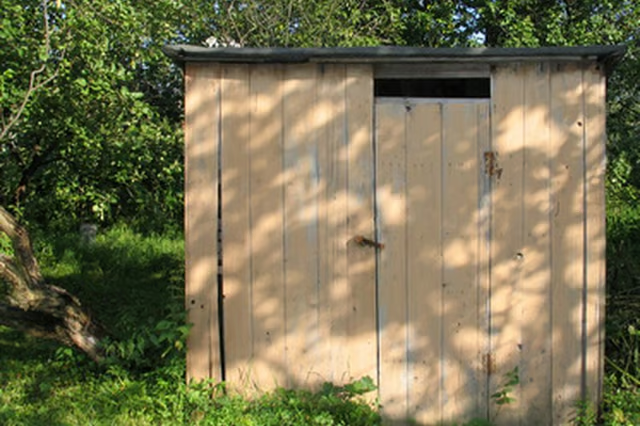
The floor you build doesn't have to be an elaborate structure. In fact, building a simple modular floor that isn't attached to the shed proper makes the initial construction easy and allows you replace the floor quickly when necessary.
Things You Will Need
-
Remove any items from the shed to allow room to work.
-
Remove 1 inch of dirt from the floor of the shed with a shovel. Use this process to smooth out any major bumps or imperfections in the dirt floor. Use a carpenter's level to ensure that the new surface is flat and level.
-
Spread a layer of fine gravel onto the dirt floor and rake it smooth with a yard rake.
-
Measure the width and depth of the floor of the shed; the width is the side to side distance of the shed, and depth is the front to back distance.
-
Cut pressure-treated 2-by-4 boards to match the depth of the shed. Cut enough boards so that you'll have enough to cover the gravel area when the boards are spaced 12 inches apart, starting at one side and working across. For example, if the shed is 48 inches wide and 60 inches deep, you'll need four 48-inch 2-by-4, each 60 inches long.
-
Lay 2-by-4 boards parallel to each other in the shed, separated by 12 inches, resting on the narrow edges.
-
Lay a 1-by-6 inch board perpendicular to 2-by-4 boards, starting at the end of the two-by-four boards. Nail the board onto the 2-by-4s. Cut each board to match the width of the shed before you place it. Using the measurements from the previous steps, that means each board would be 48 inches long. Adjust the measurements to fit your shed.
-
Continue placing boards onto the base layer of 2-by-4 until you've completed laying the floor of the shed.
The Drip Cap
- If your shed has a dirt floor, adding flooring to it is beneficial for several reasons.
- Remove 1 inch of dirt from the floor of the shed with a shovel.
- Cut enough boards so that you'll have enough to cover the gravel area when the boards are spaced 12 inches apart, starting at one side and working across.
- Lay a 1-by-6 inch board perpendicular to 2-by-4 boards, starting at the end of the two-by-four boards.
- Cut each board to match the width of the shed before you place it.