How to Install Wood Stove Pipe Flashing on Corrugated Metal
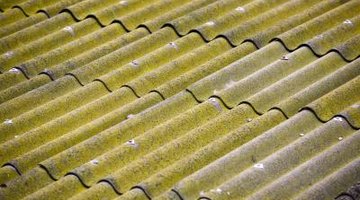
A corrugated metal roof makes a wood stove pipe installation somewhat complicated compared with other roofing materials, because the flashing used to seal fixtures that poke through a roof is flat and fairly rigid while the corrugated metal roof is an undulating series of ridges and troughs. The key to sealing the hole completely is to use flexible roof flashing. It is made with a base of silicone, aluminum or other material that will bend and flex to match the corrugated surface's shape.

Step 1
Install the chimney kit and stove pipe sections according to manufacturer instructions. Make sure that the proper ceiling support boxes and attic insulation shields are installed where the chimney passes through a ceiling. The chimney pipe should extend at least 3 feet above the surrounding roof line.
Step 2
Purchase flexible roof flashing manufactured for corrugated metal roofs. There are various options for this type of flashing; some products are more resistant to high heat than others. Many are designed to be cut to the size of your pipe. Some have rectangular bases, while others are round. Make sure your flashing is compatible with your stove and chimney.
Step 3
Set the cone part of the flashing over the exposed pipe to determine how to cut the cone to size. Use tin snips or scissors to cute a circle the size of your pipe.
Step 4
Lubricate the pipe with some water and slide the cone down until it's snug with the roof.
Step 5
Apply silicone sealant to the base of the flashing and press it down so it's flush with the corrugated texture of the roof. Smooth any creases. A firm adhesion is essential to maintain a watertight seal.
Step 6
Use self-tapping screws to secure the flashing.
Tips
- Another option for flashing a corrugated metal roof is to have a sheet metal fabricator make flashing to order. The fabricator will need specific information about your roof, including its slope, or pitch, and the type of material and texture it exhibits. It will help to give him a scrap sample of your corrugated sheeting.
Warnings
- Chimneys that aren't well-insulated may create temperatures above 240 F, exceeding the temperature limitations for some flexible flashing products. Purchase a model that is resilient to higher heat if this is your situation.
Writer Bio
Carly Fiske has been writing professionally since 2009. She writes for websites including greenanswers.com, openoffer.com and thirdage.com. Fiske holds a Bachelor of Arts in cultural anthropology from the University of Redlands.
Photo Credits
- Jupiterimages/Photos.com/Getty Images
More Articles


