


Step 1
Lay out the proposed fence line with twine and construction stakes. After choosing the style post you will use -- which tells you how wide each post will be -- mark the placement of the posts every 6 feet, measuring from the center of one post to the center of the next. If the posts you choose are less than 6 inches wide, adjust the length of the 2-by-4 boards accordingly. These preliminary measurements will tell you the quantities of fence components you need for the project.
Step 2
Dig 2-foot-deep post holes at the proper spots along the twine line.
Step 3
Put the posts in the holes; fill the holes with soil and tamp it down.
Step 4
Nail a 2-by-4 to the inside of first post -- one nail per board per post -- horizontally overlapping the post by 3 inches and aligning the bottom of the board with a mark 68 inches from the ground. This is the top horizontal board.
Nail a second 2-by-4 to the post, again overlapping the post by 3 inches, but aligning the bottom of this board with a mark 36 inches from the ground.
Nail the third and final board to the post in this same manner, but at a mark 4 inches from the ground.
Step 5
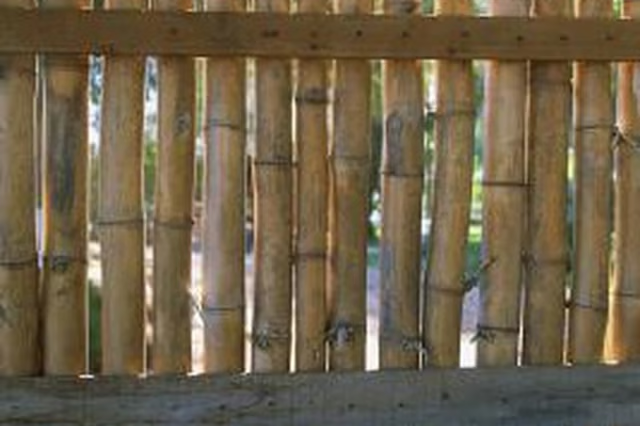
Unroll the bamboo fencing along the inside of the fence between the first two posts. Position the fencing so it extends 2 inches above the top of each post and is 2 inches above the ground. If you don't have a helper, prop up the roll with a 2-inch scrap of wood.
Step 6
Wrap the fencing tightly three-fourths of the way around the first post and staple it, every 6 inches from top to bottom, to the post.
Step 7
Pull the fencing tightly to the second post and staple it to the post every 6 inches.
Step 8
Staple the fencing to each of the three support boards at 12-inch intervals.
Step 9
Continue this method from post to post along the proposed fence line, until you come to the last post.
Step 10
Wrap the fencing three-quarters around the last post and staple it in place. Trim off excess fencing with the wire cutters