How to Make a Nautical Rope Deck Railing
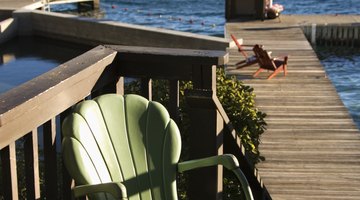
Bring the beach to your backyard with a nautical rope deck railing. Most decks are required to have railings around their perimeter because of building and safety codes, but there's no reason why your railing can't be both functional and stylish.

You don't need to be a master carpenter to update your existing railing to give it a brand new look with this nautical makeover.
Things You Will Need
- Red, blue or white paint
- Paint brushes
- Drill
- Tape measure
- Eye screws
- Rope
-
Paint the deck railing with red, blue or white paint to give it a nautical theme. You can use one solid color or a combination or two or all three to create the desired look. Choose a paint designed for exterior use, with a weather-proof finish for long-lasting results.
-
Drill holes in the deck posts on both the front and back sides where you wish to attach the rope. You might want to place rope along the top handrail and bottom of the railing. Measure the distance from the top of the post to the holes so that they are consistent across the railing.
-
Screw large eye screws into the holes drilled in the deck posts. Use eye hooks with a hole large enough to slide the rope through. Antique brass hardware is a good choice for a nautical theme but you can use eye screws with any finish for your deck. Adjust the screws so all of the holes are aligned.
-
Thread rope through the holes of the screws, working from one end of the railing to the other. Tie knots in the rope before and after each hook to hold in place. You can pull the rope tight or leave a lot of slack between poles depending on the look your are trying to achieve. You can also tie knots and fray the ends for an added decorative touch.
The Drip Cap
- Bring the beach to your backyard with a nautical rope deck railing.
- Choose a paint designed for exterior use, with a weather-proof finish for long-lasting results.
- Drill holes in the deck posts on both the front and back sides where you wish to attach the rope.
- You can pull the rope tight or leave a lot of slack between poles depending on the look your are trying to achieve.
Writer Bio
Jessica Leigh is a professional writer with works published for "The Houston Chronicle" and various websites. In addition to pursuing a degree in legal studies she has years of experience in the financial industry as a tax preparer.
Photo Credits
- Thinkstock/Comstock/Getty Images
- Thinkstock/Comstock/Getty Images
More Articles


