


Adding Drawers Below a MALM Bed
Step 1
Measure the clearance from the bottom of your bed to the floor to determine how many drawers will fit, and the height restriction. Regular MALM bed frames have 4 inches of space between the bottom of the mattress and the floor. MALM High bed frames provide 8 inches of open space.
Step 2
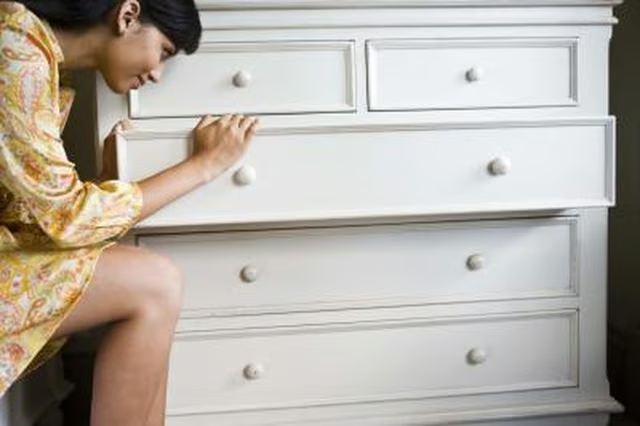
Repurpose a drawer from a chest that you already have, buy an inexpensive set of drawers or make your own custom-sized drawers.
Step 3
Keep the drawers looking sleek by adding or changing the hardware. Clean, straight lines and simple pulls complement your MALM bed, while also giving you something to grab when you want to pull your drawer out from under the bed.
Step 4
Fasten small plate-mount casters to the bottom of the drawer. Use the smallest casters available to avoid adding unnecessary height to your drawer. They can be found at hardware stores, home improvement stores or online. Before attaching them, hold your plate-mount casters at each corner of the drawer, marking the mounting holes with a pencil. Drill holes in each of the marked spots. Attach the caster with bolts, washers and nuts. Repeat for each corner of each drawer.
Step 5
Fill the drawer with the items that you are storing and slide the drawers under your MALM bed.
Build Your Own Drawers
Step 1
Measure the space below your bed to determine the available height, width and depth. Determine how many drawers you want to build based upon the available space.
Step 2
Calculate the amount of materials that you need to finish the project. Use 1/4-inch plywood for the bottom and 1/2-inch plywood for the front, side panels and back of each drawer.
Step 3
Set your table saw with a 1/4-inch wide dado stack set at 1/4-inch high and 1/4-inch away from the fence. Make the first cut, trimming 1/4 inch off each end of the front and back pieces. Make a second cut on each end of the front and back pieces by holding the wood tightly against the fence to create a 1/2-inch rabbet.
Step 4
Cut a 1/4-inch groove along the bottom of the front, back and side pieces. The drawer's bottom should fit easily into these grooves.
Step 5
Assemble the drawer, beginning with the front and side pieces. Apply glue along the rabbets that form the front and back corners, clamping them to hold them securely. Slide the bottom panel into place before securing the back of the drawer in place.
Step 6
Use a brad gun, held in line with the side panels, to secure the joints with 18-gauge, 1 1/4-inch brad nails.