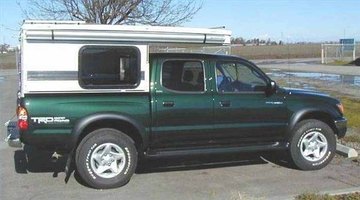
How to Replace a Window Screen on a Camper Shell
Window screens, especially on camper shells, have a tendency of becoming ripped. There's nothing more aggravating than having insects flying into your screen while you are camping. However, following a few steps, you can easily replace the screen with little hassle.

-
Use a flathead screwdriver to remove the staples holding the window screen on. Some of these may be set in and rusted, but a little old-fashioned prying will quickly remove them.
-
Pull the window screen away from the camper shell and set it on top of your replacement screening.
-
Trace the border of your old screen on to the new screening using a sharpie marker. Make sure to go a little wide of the actual border so you can cut within the lines.
-
Cut out the new screening following just inside the lines you traced using a pair of heavy duty scissors. Try to keep the cut as clean and smooth as possible.
-
Place the new screen over the window and staple it to secure it. Make sure to keep the screen taught the entire time to prevent wrinkles from forming.
Tips
- It may be desirable to purchase heavier duty screening than was previously on the camper shell (to prevent any new rips and tears).
Warnings
- Always use caution when working with sharp objects.
Writer Bio
Tyson Simmons started writing professionally in 2005 and has worked for multiple media firms and publications, including "EQ Automotive" and various websites. He mainly covers the automotive and technical fields. Simmons has an English writing certification from Uintah Basin Applied Technology College and is also A+ computer repair certified. He is pursuing a Bachelor of Science in English writing at Utah State University.
Photo Credits
- www.fourwheelcampers.com
More Articles


