


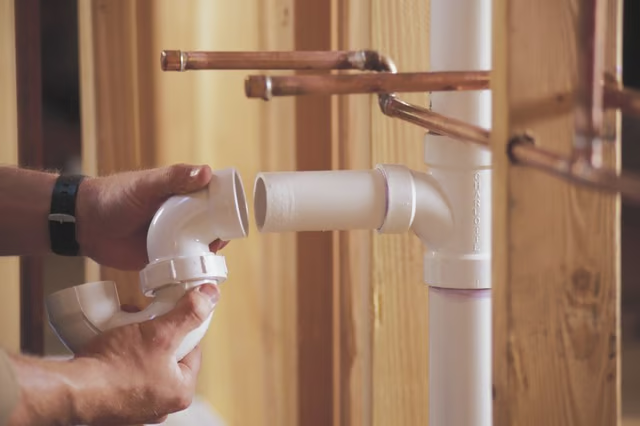
Pipe made from polyvinyl chloride or PVC is widely used for many plumbing applications because of its low cost and reliable performance. For some projects, PVC plastic pipe must be connected using threaded fittings. However, PVC pipe is not usually manufactured with pre-cut threads, so you have to cut the threads yourself. You typically use threaded connectors to minimize the chances of a leak in high stress applications or when a long length of pipe is required. Thread PVC pipe using only pipe rated as Schedule 80 or higher. The sides of lightweight Schedule 40 pipe are too thin and may crack if you try to cut threads in them.
Things You Will Need
-
Use a vise to hold the pipe while you cut the thread. Wrap the spot on the pipe that will be clamped in the vise with the cleaning cloth or a piece of heavy paper. This will prevent the pipe surface from damage by the clamp. The end of the pipe should extend about 6 to 0 inches out from the vise. Tighten the vise enough to secure the pipe. Don't over-tighten the vise or it may crack the pipe.
-
Insert the tapered arbor into the end of the pipe. A tapered arbor or shank is a device used for balance and stability during high-stress operations. For threading PVC pipe, the tapered arbor keeps the die and pipe aligned correctly and helps to keep the pipe from cracking while the thread is cut. Tapered arbors, threading dies and pipe threading kits are available at plumbing supply and building supply stores.
-
Slide the die over the end of the PVC pipe. Make sure the smooth part goes on first and that the thread is facing away from the pipe end. Press on the die with your hand until it stops.
-
Turn the crank of the die in a clockwise direction. As you do, press on the die with your hand to help ensure an even cut. Continue cutting until the rear end of the die is even with the end of the pipe.
-
Turn the die counterclockwise to remove it from the pipe. Remove the tapered arbor. Use the cleaning cloth to wipe away any loose particles in the newly cut thread.