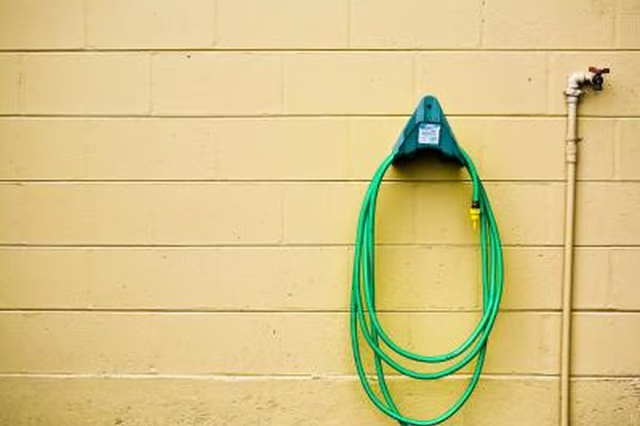
How to Childproof an Outdoor Spigot

How to Childproof an Outdoor Spigot
Published: Jan 15, 2010
Updated: Nov 20, 2021
1 minute read

Step 1

Use a screwdriver to remove the screw in the center of the spigot handle. Protect the screw for future use by using the right style screwdriver. If the screw has a plus-shaped indention, use a Phillips head screwdriver. If the screw is slotted, use a flat head screwdriver. To protect the screw from becoming mangled, do not use screwdrivers that are too small. Do not use slotted head (flat head) screwdrivers for Phillips screws.

Step 2

Remove the screw from the handle. Put the screw in the freezer bag for safekeeping.

Step 3

Gently pull the handle away from the spigot to remove. Put the handle in the freezer bag.

Step 4

Seal the freezer bag. Put it in a safe place where your kids cannot reach it.

Tips

If you need to remove more than one outdoor spigot handle, place the parts in separate freezer bags and label according to location on the house.

You don't need to replace the handle every time you wish to use the spigot. Simply turn the bolt with a set of pliers or wrench.

Photo Credits

Jupiterimages/Photos.com/Getty Images

Monica J. Miller

Monica J. Miller has been a freelance writer since 2005 and is published in "A Time to Love Magazine." Miller has more than 20 years of experience crafting. She writes on a variety of subjects, including parenting, family and…

Sponsored
HomeSteady Logo

HomeSteady is the ultimate guide for all your household needs, from cleaning and HVAC to electrical, DIY and maintenance.

Property of TechnologyAdvice. © 2026 TechnologyAdvice. All Rights Reserved

Advertiser Disclosure: Some of the products that appear on this site are from companies from which TechnologyAdvice receives compensation. This compensation may impact how and where products appear on this site including, for example, the order in which they appear. TechnologyAdvice does not include all companies or all types of products available in the marketplace.