


Screws
-
Using the drill driver, back out and remove the screws on the dock planking you wish to replace. If the screws are rusted or badly corroded, discard them. If they show only minor signs of wear, you may wish to reuse them.
-
Place the pre-cut replacement dock plank evenly in the space the old plank occupied. Have you helper hold the other end while you drill a pair of pilot holes in one end of the plank.
-
Drive your galvanized or stainless steel screws and then perform the same action on the other end of the plank. Your replacement plank is now securely installed.
Nails
-
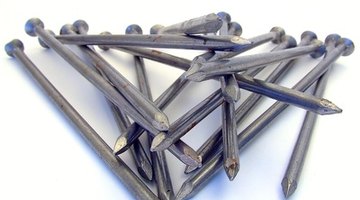
Using your crowbar or pry bar, remove any rotted deck plank that was previously secured with nails. Put it aside to be discarded later.
-
Place the pre-cut replacement dock plank evenly in the space the old plank occupied. Have you helper hold the other end while you drill a pair of pilot holes in one end.
-
Using the hammer, drive a galvanized nail into the each pilot hole you drilled. A pilot hole helps guide the nail your are driving straight down and lessens the risk that an errant hammer blow will bend it out of shape.
-
Perform the same action on the other end of the plank. Your replacement plank is now nailed down securely.
Installing a Cleat
-
Position the cleat where you wish to install it. Use the pencil to mark the center of the mounting holes.
-
Set the cleat aside and drill pilot holes into the pencil marks. Make your holes approximately one-third smalller than the shank diameter of the lag screws you will be installing. The idea here is to drill pilot holes deep enough to allow you to drive the lag screws into the framing below the planks.
-
Insert a galvanized lag screw into each hole in the base of the cleat. Drive each lag screw into the deck and framing using your socket wrench. As the cleat begins to suck up, re-tighten each lag screw until each is firmly secured. You dock is repaired and your new cleats are properly installed.