

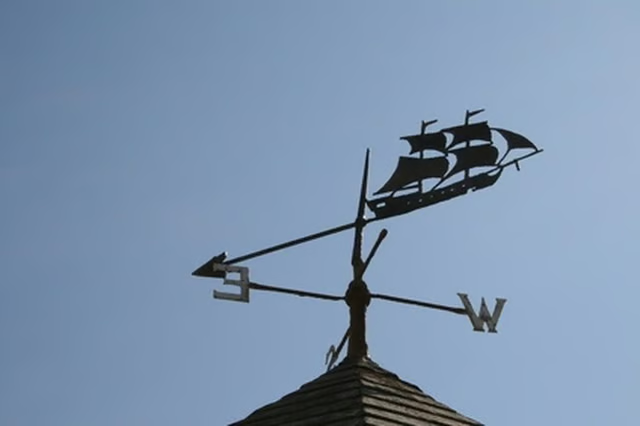
-
Measure about 2 feet in from one end of your copper pipe, using a tape measure. Make a grease pencil mark around the pipe and brace the pipe's body against a sturdy table. The marked spot should hang over the table a little. Draw a hacksaw firmly and slowly over the grease pencil mark until you saw through. Keep the 2-foot piece of pipe.
-
Measure in 1 foot from both ends of your copper pipe to find the center. Make a grease pencil mark at the center. Brace the pipe against a table. Drill straight through the pipe at the center mark with a ¼-inch drill bit, drilling completely through both sides.
-
Spread out your copper sheet on a flat surface. Draw two triangles with 3-inch sides near the edge of your sheet. Cut them out, using tin snips as you would scissors. Cut two, 1-inch-long slits about ½ inch apart in the base of one triangle. Do the same to your second triangle, positioning the slits on either side of the top point.
-
Sand both ends of your copper pipe with coarse sandpaper. Apply a little metal cement to either end. Slip the slits of a triangle onto either end of the pipe so it looks like a long copper arrow. Let the cement dry overnight.
-
Drive a wooden stake into the ground where you want your weathervane, using a hammer. Place a steel washer (a round, metal doughnut used as a buffer between surfaces) against the top end of the stake.
-
Slip a nail through the center hole in your copper arrow and place the tip of the nail in the center of the washer. Pound the nail until it's halfway buried in the wooden stake. Your weathervane should be able to spin freely.
Articles
View All Hover to load posts
Articles
View All Hover to load posts
Articles
View All Hover to load posts
Articles
View All Hover to load posts
Articles
View All Hover to load posts
Articles
View All Hover to load posts
Articles
View All Hover to load posts
Articles
View All Hover to load posts
Articles
View All Hover to load posts
