
How to Install an MDF Baseboard

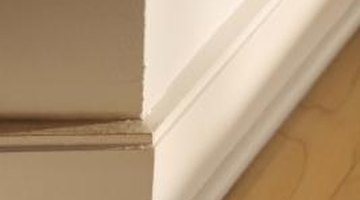
A baseboard is the trim board that conceals the joint between the floor and wall. MDF, or medium density fiberboard, is a man made building material that is used in place of wood in many applications, including molding. One advantage it has over wood is that it is often more affordable. Aside from being slightly heavier than pine, it is simple to work with and you won't have to worry about knots or cracks. MDF baseboards are installed just like traditional wooden baseboards. It is important to measure and complete your cuts carefully when installing molding because this determines the fit and ultimately the final appearance of the molding.
-
Run a stud finder along each wall approximately 1 foot above the floor and mark the location of each stud as indicated using a pencil.
-
Measure the length of each wall using a tape measure. Make a note of the length of each wall and the angles at the ends of each wall.
-
Lay the baseboards out on a work surface. Measure and mark the measurements and end angles from Step 2 onto the boards.
-
Position each baseboard, one at a time on the table of a miter saw with the back side flat and the bottom edge flush against the fence. Move the saw through the board with a steady motion to complete each cut. Adjust the saw to cut any angled ends. Outside corners will require 45-degree angles with the outside face having the long point. Inside corners will require 45-degree angles with the back side having the long point. On corners such as bay windows the same rule applies, however, the required angle is 22.5-degrees. Make all of the cuts carefully on the miter saw to cut the molding to length.
-
Place the molding sections against the walls where they go and fit the corner joints together. Hammer 1 3/4-inch finish nails through the baseboard into the wall at each stud marking to fasten the baseboards in place. Center the point of a nail set on the head of each nail and tap the set with a hammer to set the nails 1/16-inch below the surface.
-
Clip the tip of the caulk tube off with the built-in cutter on the caulk gun. Insert the caulk tube tip-end first into the gun. Apply a bead of caulk along the top joint between the baseboard and the wall and in each corner joint. Wipe off any excess or uneven sections of caulk with a finger. Dab a bit of caulk into each nail hole and wipe it flush with a finger.
Tips
- Double check your measurements to be sure that they are accurate. This can save you time and materials in the event of an error in measuring.
Warnings
- Wear eye protection when installing baseboards.
Writer Bio
Jonah Morrissey has been writing for print and online publications since 2000. He began his career as a staff reporter/photographer for a weekly newspaper in upstate New York. Morrissey specializes in topics related to home-and-garden projects, green living and small business. He graduated from Saint Michael's College, earning a B.A. in political science with a minor in journalism and mass communications.
Photo Credits
- Jupiterimages/Creatas/Getty Images
More Articles