
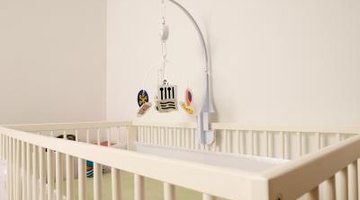
Assembly Instructions for a Simmons Crib 1320 92

The Simmons crib model 1320 92 is a standard drop-side infant crib, available in a variety of finishes. While assembling any model of crib without the manufacturer's detailed instructions is a difficult process, the basic steps of putting together this model of Simmons crib are similar to the instructions for assembling any standard drop-side infant crib. Be sure to tighten all screws and bolts securely to guarantee the safety of your child in the crib.
Step 1
Lay out all the included pieces of the Simmons crib. This should include headboard, backboard, mattress support, stabilizing bars, gate and drop side. Lay the pieces out as they will be attached to each other for easier assembly. Be sure that the screw notches line up and the finished edges of all the pieces are facing outwards.
Step 2
Attach the foot board to the gate with the screws enclosed in the assembly packet. The gate, the side without the drop-down portion, will function as the back of the crib. Attach the other end of the gate to the head board with the screws enclosed in the assembly pack.
Step 3
Attach the stabilizing brackets to the head board and foot board portion of the crib. These brackets attach to the screw holes created in the head board and foot board portions of the crib. Place the stabilizing bar within each of the brackets so that it stretches securely across the bottom of the crib lengthwise.
Step 4
Attach the bottom of the crib to the head board, foot board and back gate portion of the crib by screwing the enclosed screws into the manufactured holes provided for them on each of the pieces.
Step 5
Attach the one of the gate shoes to each side of the front of the crib by securing them to the front side of the head board and foot board, in the holes made by the manufacturer. Then, attach the drop side rails to the front sides of the head board and foot board. These rails allow the drop side to slide up and down to easily place your infant in the crib.
Step 6
Drop the drop side gate into the rails. Slide it up and down to test that it locks into place when lifted or dropped.
Writer Bio
Tatyana Ivanov has been a freelance writer since 2008 and has contributed articles to "Venus" and "Columbus Family." She continues to write humor pieces for a number of popular culture blogs. Ivanov holds a Bachelor of Arts in media studies from Hunter College.
Photo Credits
- Jupiterimages/Photos.com/Getty Images
More Articles