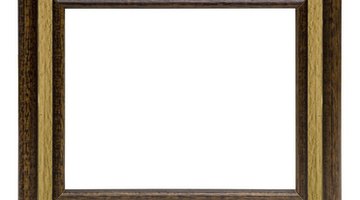
How to Cover Wood Frames With Metal
Metal sheets can be bent to cover almost any wooden item. The technique for covering wood is typically used to create copper or stainless steel countertops. The same steps can be used to cover any type of wood, including a wood frame. Purchase a metal sheet that is already polished, and select screws in a matching finish. You can also opt to choose screws in a contrasting color if you would like a two-tone finish.

Step 1
Set a metal sheet face-down on a flat work surface. Place the wood frame on top of the metal sheet. Measure out from the frame so that the metal will wrap all the way around the back side of the frame with 1 inch of overlap. Draw this measurement with a permanent marker. Repeat for the inside of the frame.
Step 2
Cut the sheet with metal shears along the marks.
Step 3
Run a bead of polyurethane-based adhesive on the front of the window frame. Put the frame down on the metal sheet. Attach the metal to the frame with clamps. Let the adhesive dry overnight.
Step 4
Cut the metal with shears from one corner of the metal sheet towards the edge of the frame. Repeat at each corner of the frame.
Step 5
Hold one edge of the metal with pliers. Wrap the metal sheet around the wooden frame. Hammer nails through the metal and into the wood. Bend the metal sheet around the edge of the frame.
References
Writer Bio
Lisa East Hunter is a consultant and freelance writer in Phoenix. Her background in marketing and technology led her to explore all avenues of writing. She is currently dividing her time between freelance writing and her consulting business. Hunter has a Bachelor of Science in management information systems and marketing.
Photo Credits
- classic wooden frame image by angelo.gi from Fotolia.com
More Articles


