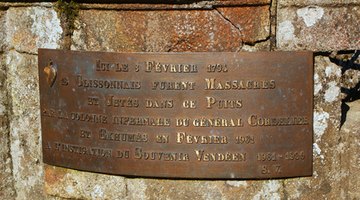
How to Mount Plaques to Walls
Mounting plaques to a wall isn't as laborious as it may seem. With the proper tools, you can have your plaque up on the wall in no time. Plaques often include a slot on the back to make them easier to mount. If you're working with multiple plaques of the same size, you can place them side-by-side and evenly apart.

Things You Will Need
- Nails
- Hammer
- Tape measure
According to the Gems of Africa Gallery, artwork should be placed at eye level, about 5’ 6” from the floor.
-
Turn the plaque over. Measure the area from the left edge of the plaque to the first slot and from the right edge of the plaque to the last slot (where the plaque will hang). Jot down the measurements.
-
Hold the plaque at eye level over the area of the wall where the plaque will hang. Adjust its position until it's balanced. If you're mounting a heavy plaque, place the plaque on a stud (the internal vertical frame) on the wall.
-
Use a pencil to lightly mark the area (at the top of the plaque) on the wall.
-
Hold a tape measure at the zero mark over the starting point of the marking.
-
Mark the first and last slots with a pencil, using the measurements you jotted down in Step 2.
-
Place a nail on the first slot you marked on the wall. Hammer it firmly into place, but do not completely nail it into the wall; leave some room for the hanger.
-
Place a second nail on the second slot you marked on the wall. Hammer it firmly into the wall, leaving room for the plaque.
-
Mount the plaque on the wall, sliding the nails gently into the slots to hold it in place.
Tip
You can also use screws instead of nails to mount plaques.
References
Writer Bio
Foye Robinson is a freelance writer and Web designer with Precision Web Crafting. She shares her love for family/relationships, fitness and Web design in her writing. Robinson holds a Bachelor of Science degree from Webster University and also writes miscellaneous articles and novels.
Photo Credits
- plaque commemorative image by photlook from Fotolia.com
- plaque commemorative image by photlook from Fotolia.com
More Articles


