


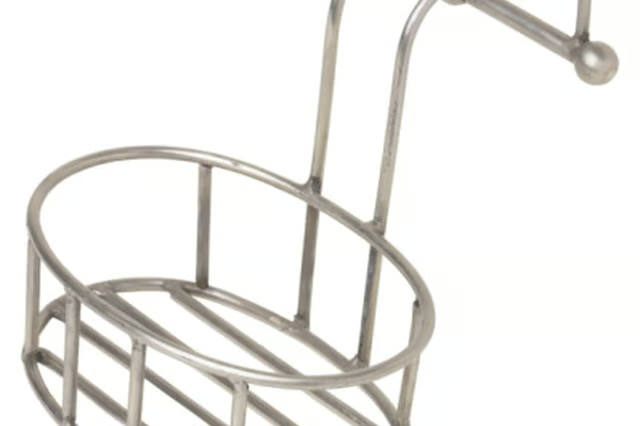
While these devices come in a wide variety of colors, shapes and sizes, they all have one thing in common: easy installation.
Hanging Shower Caddy
-
Place the caddy over the shower head through the larger opening toward the bottom of the caddy, where hygiene items are stored. If the caddy opening is too narrow, remove the shower head with tongue-and-groove pliers, using a rag or masking tape wrapped around the shower head fitting to prevent scratching the finish. Slide the caddy over the pipe.
-
Negotiate the caddy into place, and pull down on it gently until secure. Replace the shower head if you had to remove it.
-
Test for stability. Try to move the caddy from side to side. If the caddy does not give way, it is installed correctly. Push the attached suction cups against the shower wall to secure it if the caddy is so equipped.
-
Place your hygiene items in the caddy.
Tension Rod Caddy
-
Assemble the rod. The tension rod will come included with a long bar, resembling a shower curtain rod with springs that are inserted inside of the rod to create tension. This type of caddy is ideal for corner installations and is designed to reach from the top of the tub to the ceiling of the shower.
-
Attach the shelves. Once the rod is assembled, the shelves will either snap on or glide on over the rod. The shelves will stay mounted in place with the use of clips or suction cups that come with the caddy installation kit.
-
Place the shower caddy in the corner. Hold one end of the tension rod at the top of the bathtub, pull the other end of the rod down and slide the top of the rod toward the corner of the tub until it reaches the ceiling. Release the rod gently until it presses against the ceiling. Twist the rod until enough tension exists in the springs for it to remain securely in place.
-
Pull on the rod gently to test the fit. If the rod does not easily move, it is installed properly and is ready for use.