How to Remove Photo Eyes From Garage Door Opener
Photo-eyes are a safety mechanism that all garage door openers must have. Photo eyes will become faulty just as any other piece of equipment. When the photo eyes do not function properly, the garage door opener will not operate correctly. Replacement universal photo eyes are available at home improvement centers and garage door dealers. You need to remove the photo eyes from the garage door completely. Photo eye removal and installation are generally the same among all the garage door opener manufacturers.

Step 1
Place a stepladder under the garage door opener head. The head is the part of the opener that has the light and houses the motor. Pull the opener power cord out of the electrical outlet in the ceiling.
Step 2
Locate the quick connect terminals on the back of the opener head. The quick connect terminal will have the white and black wires from the wall button and photo eyes connecting to the terminal. The photo eye wires usually staple to the ceiling above the opener rail.
Step 3
Look at the photo eye wires at the photo eyes and follow the wires to the back of the opener head. Insert a flat-head screwdriver into the quick connect terminal below each wire and press inward to release the wire from the terminal. Remove the black wire and the white wire for each photo eye.
Step 4
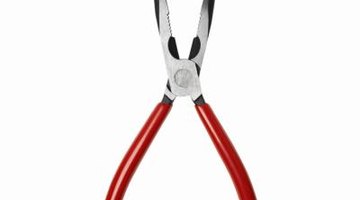
Move your stepladder down the length of the opener rail to reach the staples securing the photo eye wires to the ceiling. Pull the staples out of the ceiling with a pair of needle nose pliers.
Step 5
Remove the wires from each side of the door jamb until all of the photo eye wire is free.
Step 6
Remove the screws that secure each photo-eye to the garage door jamb with a socket wrench. Some manufactures secure the photo eye directly to the door track. Remove the bolt that secures the photo eye to the door track with a socket wrench.
References
Tips
- Do not use the existing photo eye low voltage wire for the new photo eyes. Although this may seem like a time saver, it is best to use new wire when installing new photo eyes.
Warnings
- Always disconnect power from the garage door opener before attempting repairs.
Writer Bio
Kenneth Crawford is a freelance writer with more than 10 years of experience. His work has appeared in both print and online publications, including "The American Chronicle." Crawford holds an associate degree in business administration from Commonwealth College.
Photo Credits
- George Doyle/Stockbyte/Getty Images
More Articles


