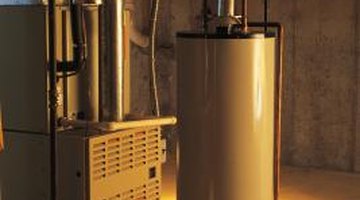
Troubleshooting an Automatic Ignition on a Water Heater
Many water heaters have an automatic ignition system that lights the pilot light without using a flame to manually light the pilot. While this system generally works well without any interference, if the water heater ignition is not working as expected or the water heater is not operating or heating, some inspection and troubleshooting may be necessary to get the water heating working again.

Step 1
Look to see if the water heater has completely lost power. Replace or reset the fuse or circuit breaker if needed.
Step 2
Check the gas valve next to or behind the water heater and ensure the gas valve is turned fully on, which is typically in a counterclockwise direction.
Step 3
Open the front access panel on the water heater and find the thermocouple, which is the bracket that surrounds the pilot light. Tighten the thermocouple connection by hand if the connection seems loose and then finish by turning it a quarter turn with a wrench.
Step 4
Smell carefully around the entire perimeter of the water heater, including near the floor, for gas. Stop if you smell gas and turn off the water heater. Leave the house and call your local gas supplier for help.
Step 5
Move the water heater thermostat to “Pilot Light” or the lowest possible temperature if there is no gas scent.
Step 6
Push in on the gas control knob and rotate to “Off” and open the outer burner access door, which is usually underneath the gas control. Wait 5 minutes.
Step 7
Smell again for gas, then rotate the gas control knob to “Pilot” or “Light.” Push the piezo ignitor button, which is typically red, several times.
Step 8
Watch for the pilot to spark, then push the gas knob in fully and press the ignitor button several times again. Close the burner access door once the pilot light is lit and turn the gas control knob to “On” and adjust the thermostat to the desired temperature.
References
Warnings
- Contact your water heater manufacturer or another qualified service professional if you are not confident in your ability to check or troubleshoot the water heater ignition. Improper handling can lead to combustion and bodily injury.
Writer Bio
Meredith Jameson writes early childhood parenting and family health articles for various online publications. She holds a Bachelor of Arts in history from San Francisco State University.
Photo Credits
- Comstock/Comstock/Getty Images
More Articles


