


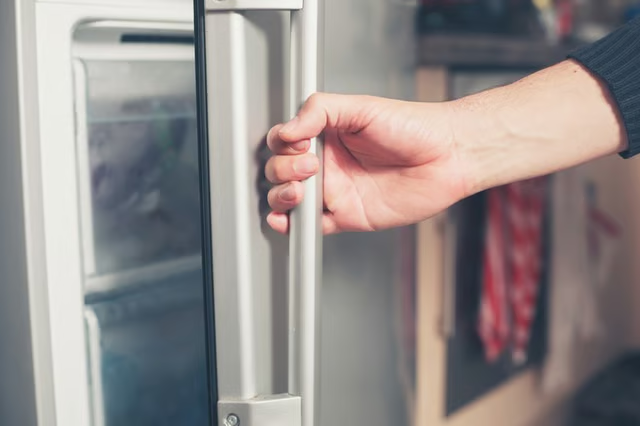
Every model of refrigerator manufactured by Whirlpool today offers removable door handles as part of its design. This is a practical option for customers as they are able to remove the handles for a thorough cleaning, to squeeze the fridge through a small doorway, or to remove or replace a door handle that is damaged. This simple job requires only a screwdriver or hex key, also called an Allen wrench, usually around 3/32-inch or 1/8-inch. The Whirlpool Refrigerator Owner's Manual might be useful because it includes diagrams, but it's not necessary to complete the task.
Things You Will Need
-
Place painter's tape on the surface of the refrigerator next to the screws on the handle. The tape will help protect the finish from scratches from the wrench or screwdriver.
-
Insert the hex key or screwdriver into the top screw on the side of the refrigerator handle. While holding the handle securely, loosen the screw by turning it in a counterclockwise direction. You may have to open the other door on two-door models for the best access.
-
Loosen the bottom screw in the same fashion. Remove the handle once both screws are loose, and it moves freely away from the door.
-
Repeat the same process for removing the handle on the opposite door. Place detached handles in a secure place if you plan on reattaching them. If your Whirlpool refrigerator is stainless steel, pay particular attention to the sharp edges of the door handles and the unforgiving finish of your fridge, and put the handles a safe distance away.