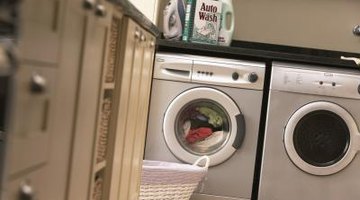
How to Remove a Panel From a Whirlpool Ultimate Care II Washer Machine
Manufactured by Whirlpool, the Ultimate Care II washer is a top-loading residential washing machine with user-friendly features such as an extra-gentle "Hand Wash" cycle for delicate items, as well as an option for an extra rinse cycle. If your Ultimate Care II starts to act up, you can remove some of the panels to troubleshoot or repair your appliance. The panel removal process is simple and requires no previous appliance-repair experience.

Step 1
Avoid electrical injury by unplugging your Whirlpool Ultimate Care II washing machine from its power source before beginning your troubleshooting or repairs. Make absolutely sure that all electricity has been disconnected from your washer before your proceed.
Step 2
Move the washing machine away from the wall so that you can access its rear panel. Use a Phillips screwdriver to remove the screws that secure the rear panel to the rest of the washing machine cabinet. Set the removed panel and screws aside while you troubleshoot or repair your appliance.
Step 3
Shine a small flashlight into the space underneath the washer's top panel and look for the two metal clips that hold the top panel to the rest of the washer cabinet. Slip a putty knife or flathead screwdriver into the space and use it to apply pressure to the clips until they release. Lift the top panel up and fold it back so that it can rest against a wall or, if your washer is still moved away from the wall, rest the top panel against a similar support, such as the back of a sturdy chair.
References
- "Cheap and Easy Washing Machine Repair;" Douglas Emley; 2003
Resources
Tips
- Keep a small magnet or container handy to hold the screws that you remove from your appliance.
Warnings
- Never attempt to troubleshoot or repair your washing machine while it is connected to a power source.
- The left and right side panels of your Whirlpool washing machine cannot be removed easily, and it is unnecessary to remove them for most repairs.
Writer Bio
Megan Mattingly-Arthur has been writing professionally since 1998. She has contributed to various publications, including "Teen Voices" and "Positive Teens" magazines, as well as a book, "The Young Writer's Guide to Getting Published." Mattingly-Arthur is studying travel and tourism through Penn Foster Career School.
Photo Credits
- Andrew Olney/Photodisc/Getty Images
More Articles


