
How to Change Ryobi Planer Blades

Ryobi power planer blades are reversible; you get two blades for the price of one. When the blade becomes dulled, switch it over and use the other side. Blades for the Ryobi planers come in pairs; always switch them out or reverse them in pairs.
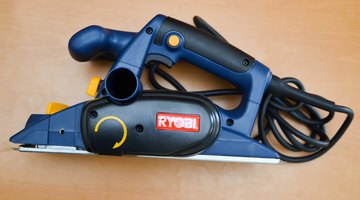
Unlike old hand-planer blades, you can't sharpen Ryobi blades, so replace them when they appear damaged or chipped. Ryobi manufactures hand planers and stationary thickness planers; the procedure for removing blades on them are different.
Hand Planers
-
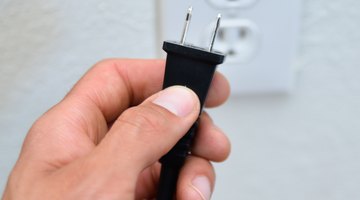
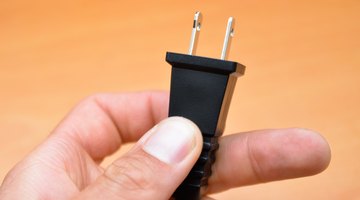
Unplug the planer—a basic safety rule for hand tools, particularly one with a blade.
-
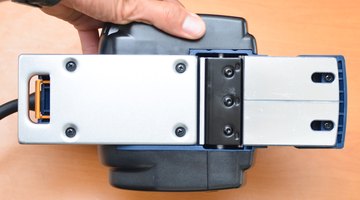
Turn the planer upside down and secure it as well as possible. If you have a wooden vise, put the tool in that and tighten the vise enough just enough to hold it. Don't put the tool in a metal vise -- you can crack the housing.
-
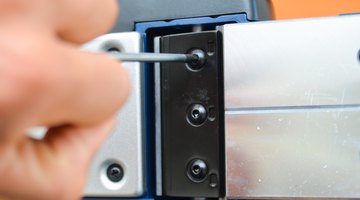
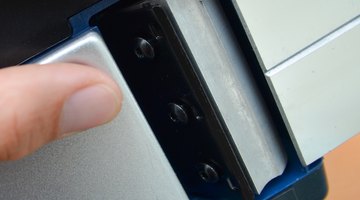
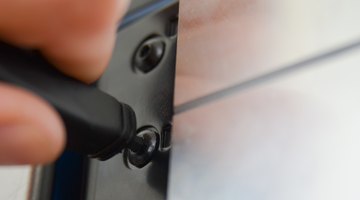
Loosen the three screws that secure the blade. (Your planer should have come with a wrench to do this; check the box.) Just loosen the screws—don’t remove them.
-
Look at the direction of cut and make a mental note. Then observe and replicate the tapering of the blades. Place the tapered edge of the new blade on the same side as the screw heads; the flat edge faces the cutter block.
-
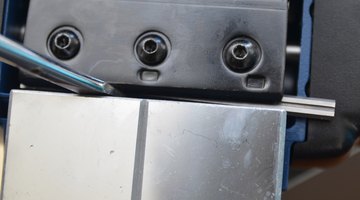
Push the blade out of the blade holder with a flat-head screwdriver—it should go to the right.
-
Remove the old blade. If necessary, tap the blade with a block of wood to loosen it.
-
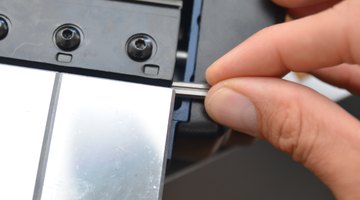
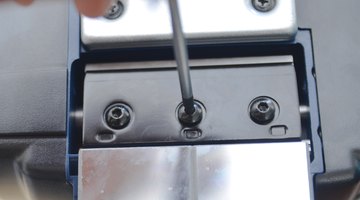
Slide the new blade, then orient and center it using the screwdriver. Retighten the three screws.
-
Repeat with the second blade.
Thickness Planers
-
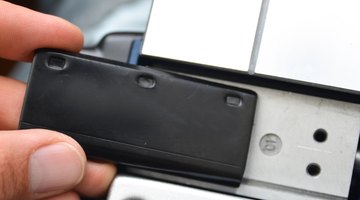
Unplug the planer. Remove the chip guard from the infeed side of the machine by unscrew the two wing nuts securing it.
-
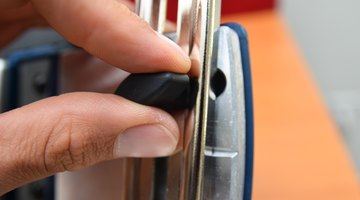
Loosen the lock bar holding the blade in place by turning the two lock bar screws on the side of the machine counterclockwise, using a screwdriver. The blade is spring-loaded and pops out when you do this. Pull it out of the planer, then pull out the lock bar.
-
Set the lock bar back in place against the cutter head and position the blade against it.
-
Tighten the lock screws on the side of the machine to hold the blade in place.
-
Reinstall the chip guard and tighten the wings screw holding it.

Warning
Take care when handling these sharp blades.
The Drip Cap
- Ryobi power planer blades are reversible; you get two blades for the price of one.
- Loosen the three screws that secure the blade.
- ( Then observe and replicate the tapering of the blades.
- Remove the chip guard from the infeed side of the machine by unscrew the two wing nuts securing it.
- Reinstall the chip guard and tighten the wings screw holding it.
References
Writer Bio
Patrick Nelson has been a professional writer since 1992. He was editor and publisher of the music industry trade publication "Producer Report" and has written for a number of technology blogs. Nelson studied design at Hornsey Art School.
Photo Credits
- Dale Davidson/Demand Media
- Dale Davidson/Demand Media
- Dale Davidson/Demand Media
- Dale Davidson/Demand Media
- Dale Davidson/Demand Media
- Dale Davidson/Demand Media
- Dale Davidson/Demand Media
- Dale Davidson/Demand Media
- Dale Davidson/Demand Media
- Dale Davidson/Demand Media
- Dale Davidson/Demand Media
- Dale Davidson/Demand Media
- Dale Davidson/Demand Media
- Dale Davidson/Demand Media
More Articles