

Things You Will Need
It is reasonable to expect some differences between your addition kit and existing metal building. Have the phone number to the manufacturer handy in case problems arise. This project will require two people for certain aspects, such as lifting the wall and roof panels and fastening them into position.
-
Acquire necessary permits from your local building codes office. It may require you to provide engineered plans. To avoid delays, contact the office ahead of time to confirm what is required to apply for a building permit.
-
Remove the end of the existing structure where you want to place the addition. Be careful to salvage any materials you can re-use and set them aside.
-
Level the area where your addition will be located and remove any debris.
-
Dig the footer and level the bottom with gravel, according to local building-code depth. Fill the footer trench with concrete and allow it to dry completely before proceeding with construction.
-
Set base plates and anchor them into the footing with expanding anchor bolts.
-
Erect the framing. Set wall studs according to the manufacturer's specifications to match your existing metal building frame.
-
Set the engineered trusses according to specification. Secure them with fasteners provided by the manufacturer.
-
Attach the wall panels. Your metal building kit may come with brand-specific fasteners to attach the wall panels to the frame. Manufacturers now offer insulated or non-insulated wall panels. Choose the option that best serves your purpose.
-
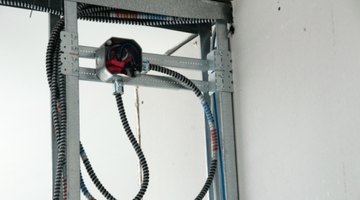
Install, or hire a licensed electrician to perform, any necessary electrical work.
-
Install the roof panels. The panels are interlocking and attach to your engineered trusses with brand-specific bolts or self-tapping screws.
-
Install any doors or windows.
-
Attach finish trim to any exposed edges.