How to Build a Manicure Table

How to Build a Manicure Table
Written By
Rich Quayshaun
Rich Quayshaun
Published: Jul 10, 2010
Updated: Nov 20, 2021
1 minute read

Step 1

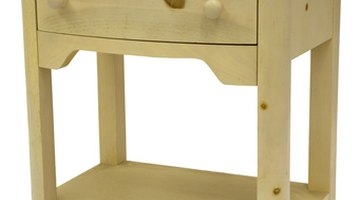
An end table or drawer unit is easy to assemble.

Assemble the two end tables (or drawer units) according to the instructions on the manual.

Step 2
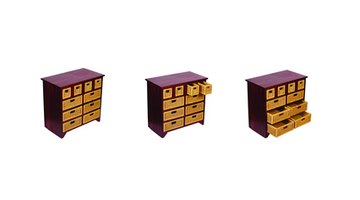
Placing drawers in your direction also provides extra storage.

Align the two end tables or drawer units evenly with one another. Leave a gap big enough to satisfy your needs. Check that chairs are able to fit on either side, between the two end tables. Point the drawers towards you and not your client for a more professional look.

Step 3
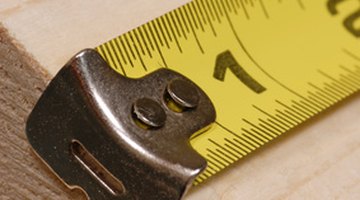
Double check your measurements for accuracy.

Measure the width of the two tables horizontally from the far end of the first table to the far end of the second table. Write down the measurement in inches for a custom-fit glass top.

Advertisement

Step 4

Measure the length of one end table vertically. Record your measurement in inches for the length of the glass top.

Step 5
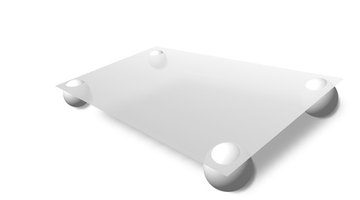
Measure the glass before placing it on the table to ensure a proper fit.

Place a custom order for a 12 inch-thick glass top at a local glass shop using the measurements previously recorded.

Step 6

Place your rubber pads on the corners of each end table. Wiggle the rubber pads with your finger to ensure they do not move.

Step 7
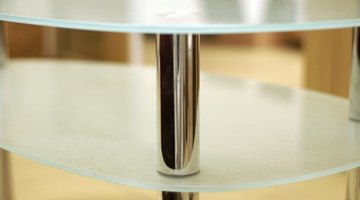
Use caution when fitting or working around glass.

Place your custom made glass top accurately on the rubber pads. Shake the glass with minimum force to check that it is secure.

Resources

Tips

For a fashionable look, you can install 4 cabinet legs on the bottom of each end table (or drawer unit). They should be anywhere from 3 inches to 6 inches in length.

Photo Credits

manicure table image by Leticia Wilson from Fotolia.com

pine night stand image by James Phelps from Fotolia.com

cassettiera image by haruspex from Fotolia.com

measuring tape on wood image by Willee Cole from Fotolia.com

modern glass table image by w14a from Fotolia.com

Glass table image by Oleg Kulakov from Fotolia.com

Rich Quayshaun

Rich Quayshaun has been writing professionally since 2008. His work appears on various websites, including Just Ask Kim. He received his massage therapy certification from the Technical College of the Lowcountry and is pursuing a Bachelor…

Sponsored
HomeSteady Logo

HomeSteady is the ultimate guide for all your household needs, from cleaning and HVAC to electrical, DIY and maintenance.

Property of TechnologyAdvice. © 2026 TechnologyAdvice. All Rights Reserved

Advertiser Disclosure: Some of the products that appear on this site are from companies from which TechnologyAdvice receives compensation. This compensation may impact how and where products appear on this site including, for example, the order in which they appear. TechnologyAdvice does not include all companies or all types of products available in the marketplace.