
How to Make a Dremel Engraving Template

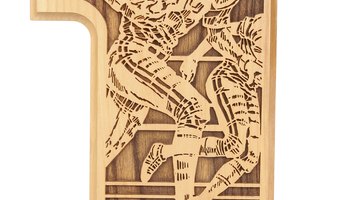
Dremel offers some of the most versatile hand tools on the market. You can engrave, cut, sand, polish and find all sorts of other handy uses for around the house. If you have decided that you want to engrave a design with your Dremel but are not ready to tackle this task freehand, you will need a template.
You can spend money on premade plastic or metal templates, or you can make your own and save yourself a trip to the store.
Things You Will Need
- Design for template
- Thin, sturdy plastic sheet
- Permanent marker
- Cutting board or equivalent
- Straight edge, razor or X-Acto knife
- Masking tape or hand clamp
-
Find a design that fits your engraving needs. These designs can be taken from numerous sources, such as magazines, books or online printouts.
-
Position a thin but sturdy sheet of plastic over the design you have chosen. You should be able to see the design through the plastic sheet.
-
Use a permanent marker to trace the design onto the plastic sheet.
-
Move the plastic sheet over to a cutting board or equivalent surface. Use a straight edge, razor or X-Acto knife to cut the design out of the plastic sheet to make the template.
-
Position the plastic sheet template over the material that you want to engrave. Hold the template in place on the material with masking tape or a hand clamp as you use the Dremel tool to engrave the design.
Tip
An alternative to a template is to draw the design you want to engrave directly onto the material, then trace the lines with your Dremel. You will need a steady hand while engraving in this fashion, however.
The Drip Cap
- Dremel offers some of the most versatile hand tools on the market.
- Position the plastic sheet template over the material that you want to engrave.
- Hold the template in place on the material with masking tape or a hand clamp as you use the Dremel tool to engrave the design.
References
Photo Credits
- Photos.com/PhotoObjects.net/Getty Images
- Photos.com/PhotoObjects.net/Getty Images
More Articles