


-
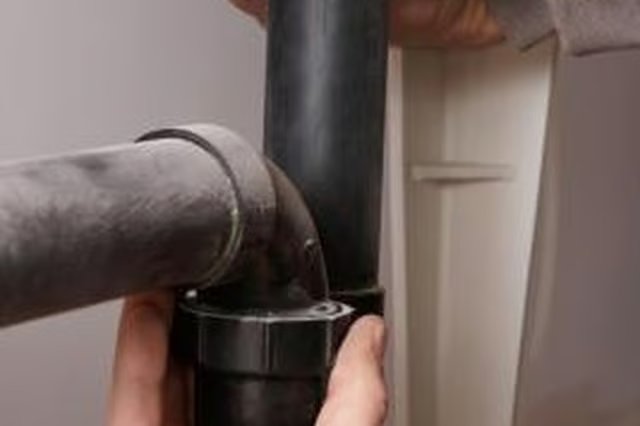
Position a bucket beneath the trap, and loosen the slip nuts on each side of the trap. Allow standing water to drain out into the bucket.
-
Push the slip nuts out of the way and remove the trap. Inspect the trap for damage. Signs of damage include cracks or holes in the pipe or damaged threads. Replace as necessary.
-
Loosen the retaining nut at the connection of the drain to the sink. An adjustable pipe wrench easily loosens the nut. Unscrew the nut fully and remove it. Press the drain up to loosen it. Remove the drain from above the sink.
-
Pull the existing rubber gasket from the sink drain. The gasket connects to the visible aspect of the drain and the surface of the sink. The most common source of leaks is a damaged gasket.
-
Roll some plumber's putty into a long strip about 1/4-inch thick. Make sure the strip is long enough to go around the drain hole. Lightly press the putty into place around the drain hole making sure to pinch the ends together. Drop the drain through the hole so that the visible aspect is sitting on the putty.
-
Reassemble the drain. Attach the retaining nut and tighten down the drain. Remove any plumber's putty that squeezes out. Slide the slip nuts onto the drain pipe and attach the trap. Tighten down the slip nuts. Make sure the drain pipe inserts into the trap 1 or 2 inches.
Check out this related video from Homesteady on Youtube.