
How do I Light the Burners on a Merritt O'Keefe Stove?

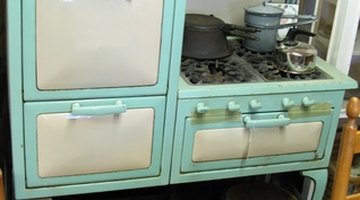
O'Keefe Merritt manufactured stoves and appliances in the late 40s and 50s. Their product line was known for its beauty, practicality and craftsmanship. Today O'Keefe Merritt stoves can be found as the center piece of many retro-design kitchens. Whether refurbished, restored or original, these stoves are easy to use and, for many cooks, their gas cooking system is preferred over modern electric styles. Once the pilots are lit, it is easy to light the burners on an O'Keefe Merritt stove.
-
Lift the cooktop cover, burner grates and griddle cover (if any) off the stove. The grates and covers are not clipped into place or otherwise attached; grab both sides and lift up to remove.
-
Find the pilot light for the burners. Some models will have only one pilot light located in the center of the cooktop. Other models will have two pilot lights, one for each set of burners. One set of burners consists of the front and back burner on one side. The pilot light is in the small cup located between the break in the gas feed tubes to the burners.
-
Push in and hold the red safety switch located on the left of the stove above the accessory drawer or, on some models, on the interior of the cooktop. Light the pilot light on the cooktop by holding a lit match in the cup. When the pilot is lit, release the safety switch. Adjust the flame if necessary by turning the adjustment knob on the pilot gas line. The top of the flame should be centered between the two feed tubes, with the flame going no higher than the top of the tubes. Replace the cooktop cover, grates and griddle cover.
-
Turn the temperature control knob for the burner to be lit all the way to its highest setting. When the burner lights, turn the knob down to the temperature desired.
References
Resources
Tips
- Listen for the sound of the gas coming out of the pilot. It will have a hissing sound. If there is no sound then check to make sure the check valve on the connected gas line is open and feeding gas to the stove.
Warnings
- Light the pilot as soon as the gas is turned on to prevent the gas from building up in one area and causing a potential explosion or inhalation poisoning.
Writer Bio
Cassandra Tribe has worked in the construction field for over 17 years and has experience in a variety of mechanical, scientific, automotive and mathematical forms. She has been writing and editing for over 10 years. Her areas of interest include culture and society, automotive, computers, business, the Internet, science and structural engineering and implementation.
Photo Credits
- Antique Restored Stove image by DSL from Fotolia.com
More Articles