

-
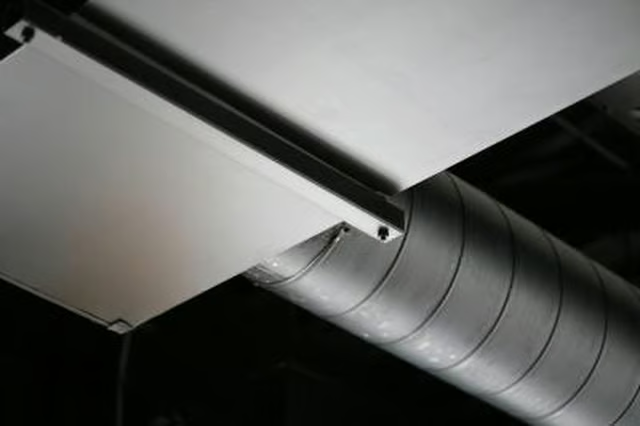
Choose a mounting location on the downstream duct in accordance with the humidistat manufacturer's instructions.
-
Place the included template on the duct in the chosen mounting location. Place a level on the template to ensure that it is straight. Mark the hole for the probe and mounting screws with a pencil.
-
Drill the hole for the probe with a 1 3/4" hole saw. Drill the holes for the mounting screws with a 3/32" drill bit.
-
Remove the screw holding the cover on the humidistat. Adjust the humidistat to the desired moisture level with a flat screwdriver. Place the included three-inch washer over the probe on the back of the humidistat.
-
Squeeze a 1/8" bead of silicon sealant around the probe hole in the duct. Slide the probe into the hole, aligning the mounting holes in the humidistat base with the holes drilled in the duct.
-
Insert sheet metal screws into the mounting holes and tighten them securely. Route the wires in the humidistat through the hole in the bottom of the humidistat base. Place the cover on the humidistat and install the retaining screw.
-
Run low-voltage wire from the humidistat to the humidifier unit. Connect the humidistat wires to the humidifier according to the humidifier manufacturer's instructions.
Articles
View All Hover to load posts
Articles
View All Hover to load posts
Articles
View All Hover to load posts
Articles
View All Hover to load posts
Articles
View All Hover to load posts
Articles
View All Hover to load posts
Articles
View All Hover to load posts
Articles
View All Hover to load posts
Articles
View All Hover to load posts
