
How to Replace a Flue Pipe

Flue pipes are made out of single-wall galvanized sheet metal. The galvanized coating protects the sheet metal from rusting. Flue pipes transport hot gases from an appliance to the exterior of your home. These hot gases can have a corrosive effect on metal which can eventually eat through the galvanized coating. Once the coating is eroded, the moisture in the hot gases can rust through your flue pipe. If your flue pipe rusts through, you will want to replace it. While replacing it can look complicated, it is actually a fairly straightforward task.
Step 1
Look over the section of flue pipe you want to replace. On both ends it will be attached to other sections of flue pipe with sheet metal screws.
Step 2
Unscrew the sheet metal screws from the section of flue pipe you wish to replace. Slide the flue pipe out of the other sections of flue pipe.
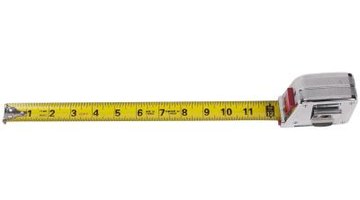
Step 3
Measure the length of the flue pipe and prepare a replacement piece by cutting a piece of flue pipe to the correct length using your snips.
Step 4
Crimp one end with your pipe crimper. Slide the crimper over one end and squeeze to place a crimp on the pipe. Unsqueeze the crimper, position it next to the crimp and squeeze again. Repeat this until it is crimped around the entire end.
Step 5
Slide the flue pipe into place between the existing sections of flue pipe. Each end of the flue pipe should overlap the other section by 1 1/4 inches.
Step 6
Install sheet metal screws on each end of the flue pipe to secure it in place. Use three to four sheet metal screws per connection.
References
- Woodheat: Flue Pipe Installation Rules
- Timothy Gonyo; Sheet Metal Workers Local #18; Milwaukee, WI
Tips
- Turn off the appliance in question when replacing the section of flue pipe. This will prevent the appliance from turning on and dispensing toxic gases into your working area while the pipe is disconnected.
Photo Credits
- PhotoObjects.net/PhotoObjects.net/Getty Images
More Articles