-
Turn off the water to the faucet and fittings you are installing. Use a center punch to make a slight indentation into the line. Drill a pilot hole in the indentation very carefully, using the drill and 1/8-inch bit.
-
Refer to the diagrams that came with the faucet to mount the chassis punch onto the line. Gradually tighten the nut to create the hole. File the edges free of any burrs created by making the hole.
-
Take the hardware off the threaded nipple, leaving the chrome base plates and rubber washers on the assembly. Insert the threaded pipe through the sink mounting hole and set the faucet in its permanent position on the sink. From under the sink, slip the spacer, flat washer and hex nut onto the threaded pipe, in that order. Tighten them by hand for now.
-
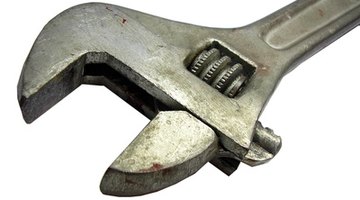
Check the permanent positioning of the faucet, and use a wrench to further tighten the assembly you just tightened by hand. You may have to hold the faucet with one hand and tighten with the other when you start to get resistance.
-
Select a convenient, reachable location on the vertical water line to mount the saddle valve. Hold the back plate against the tube. Place the saddle valve against the tubing directly opposite the back plate. Tighten the screw to secure the valve and back plate in place on the tube. Continue to tighten gradually, without collapsing the tube, until the hole is made.
-
Slip the nut and sleeve of the Quest fitting onto the tubing. Push the insert into the tubing. Mount the tubing with its insert and sleeve into the valve body. Screw on the compression nut onto the valve body and tighten securely. Turn the tapping valve handle to the right or clockwise until it is completely seated and the piercing needle is fully extended.