


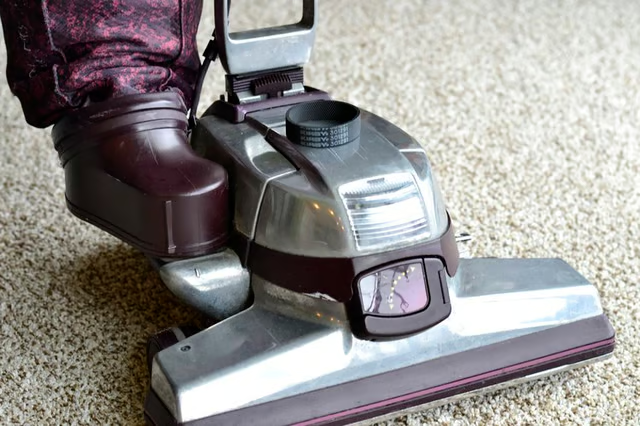
Fortunately, the belt is designed for easy replacement without tools.
-
Make sure the vacuum cleaner is unplugged. On newer models, disengage the TechDrive feature by placing the pedal in the "Neutral" position. Press the height adjustment pedal to its lowest position in order to raise the power nozzle to its highest level.
-
Raise the light hood and open the L-shaped handle of the belt lifter. Use the handle to rotate the lifter all the way left (counterclockwise), aligning the red arrows.
-
Unlock the power nozzle by rotating the accessory lock to the left (counterclockwise). The entire power nozzle unit will tip forward and detach from the rest of the vacuum cleaner.
-
Release the belt by using the L-shaped handle. Rotate the handle to the right (clockwise) until the green arrows are aligned.
-
Turn the power nozzle over and unlock the rug plate by unhooking the two rotating latches at the rear. Take note of which height (1, 2 or 3) the brush roll setting is on. Remove the rug plate and then lift out the brush roll and belt.
-
Remove and discard the old belt. Replace it with a new belt and place it back into the power nozzle on the same height setting as when it was removed. Center the new belt on the roller brush. Replace the rug plate and secure in place with the two rotating latches.
-
Rotate the L-shaped handle of the belt lifter to the left (counterclockwise) to align the red arrows. This should stretch the new belt up in preparation for being reattached to the vacuum. Re-attach the power nozzle to the vacuum and lock it in place by turning the accessory lock to the right. Now use the handle to rotate the belt lifter right (clockwise) until the green arrows are once again aligned.


The Drip Cap
- Kirby vacuum cleaners are well engineered cleaning machines, but after prolonged use, some components will start to wear down.
- Use the handle to rotate the lifter all the way left (counterclockwise), aligning the red arrows.
- Center the new belt on the roller brush.
- Re-attach the power nozzle to the vacuum and lock it in place by turning the accessory lock to the right.