How to Connect an External Hard Drive to a Stereo Receiver
If you've recently purchased a new stereo receiver, you may notice a USB port on the back connection panel. This useful feature lets you connect a flash drive or USB-enabled external hard drive to access digital audio files. Now you can play back a collection of MP3 tracks, for example, with a fast connection between the hard drive and receiver. The hard drive files must be stored in a compatible format for the receiver to access the information. Virtually all receivers with a USB port support MP3 and WMA (Windows Media Audio) files.

Step 1
Turn off the power to the receiver and unplug the hard drive from the electrical outlet.
Step 2
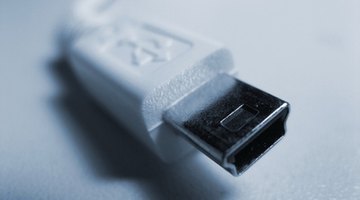
Attach one end of the USB cable to the port on the side of the hard drive. The plug inserts with the arrow side facing up.
Step 3
Push in the plug on the other end of the cable to the USB port on your receiver. Some receivers are equipped with a port on the front for a more convenient connection.
Step 4
Plug in the electrical cord for the hard drive and turn on the component.
Step 5
Turn on the receiver and select USB input on the control knob on the front of the receiver, or press the input button on the receiver's remote control.
Step 6
Browse the stored files on the hard drive using the receiver's LCD display and the navigation buttons on the remote control.
References
Resources
Writer Bio
James Clark began his career in 1985. He has written about electronics, appliance repair and outdoor topics for a variety of publications and websites. He has more than four years of experience in appliance and electrical repairs. Clark holds a bachelor's degree in political science.
Photo Credits
- usb 2 image by Bosko Martinovic from Fotolia.com
More Articles


