


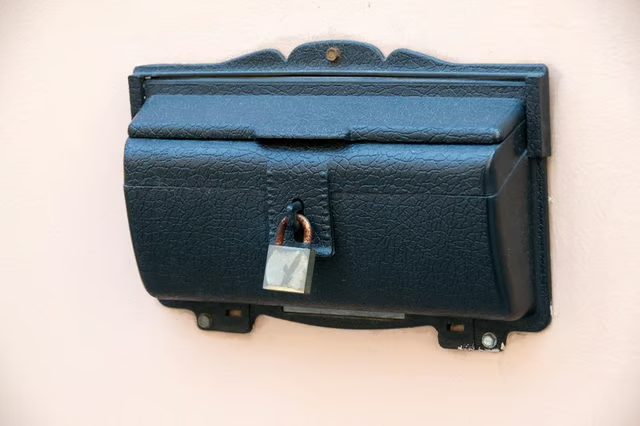
Specific tools and preparation will help make a mailbox mounting project look professional, as well as retaining the HardiPlank's structural integrity.
Things You Will Need
-
Locate the area for the mailbox mounting. Hold the mailbox against the HardiPlank surface using your hands.
-
Place a level tool on top of the mailbox while continuing to hold its position against the wall. Adjust the mailbox's position until the level tool indicates a perfectly level position.
-
Make a mark with a pencil within each screw opening on the back of the mailbox to indicate the correct screw positions.
-
Remove the mailbox from the wall. The marks should be clearly visible after removal.
-
Create a drilled hole for each mark by using a drill outfitted with a masonry bit. The bit should be 1/4 inch in diameter.
-
Remove the debris within the holes with canned air or an air compressor. Press a plastic anchor into each hole.
-
Place the mailbox over the drilled holes. Screw in the screws with a screwdriver. Tighten the screws until the mailbox remains flush with the HardiPlank surface.
The Drip Cap
- Many homeowners upgrade their outside panel siding to James Hardie's HardiPlank brand.
- Create a drilled hole for each mark by using a drill outfitted with a masonry bit.
- Place the mailbox over the drilled holes.
- Tighten the screws until the mailbox remains flush with the HardiPlank surface.